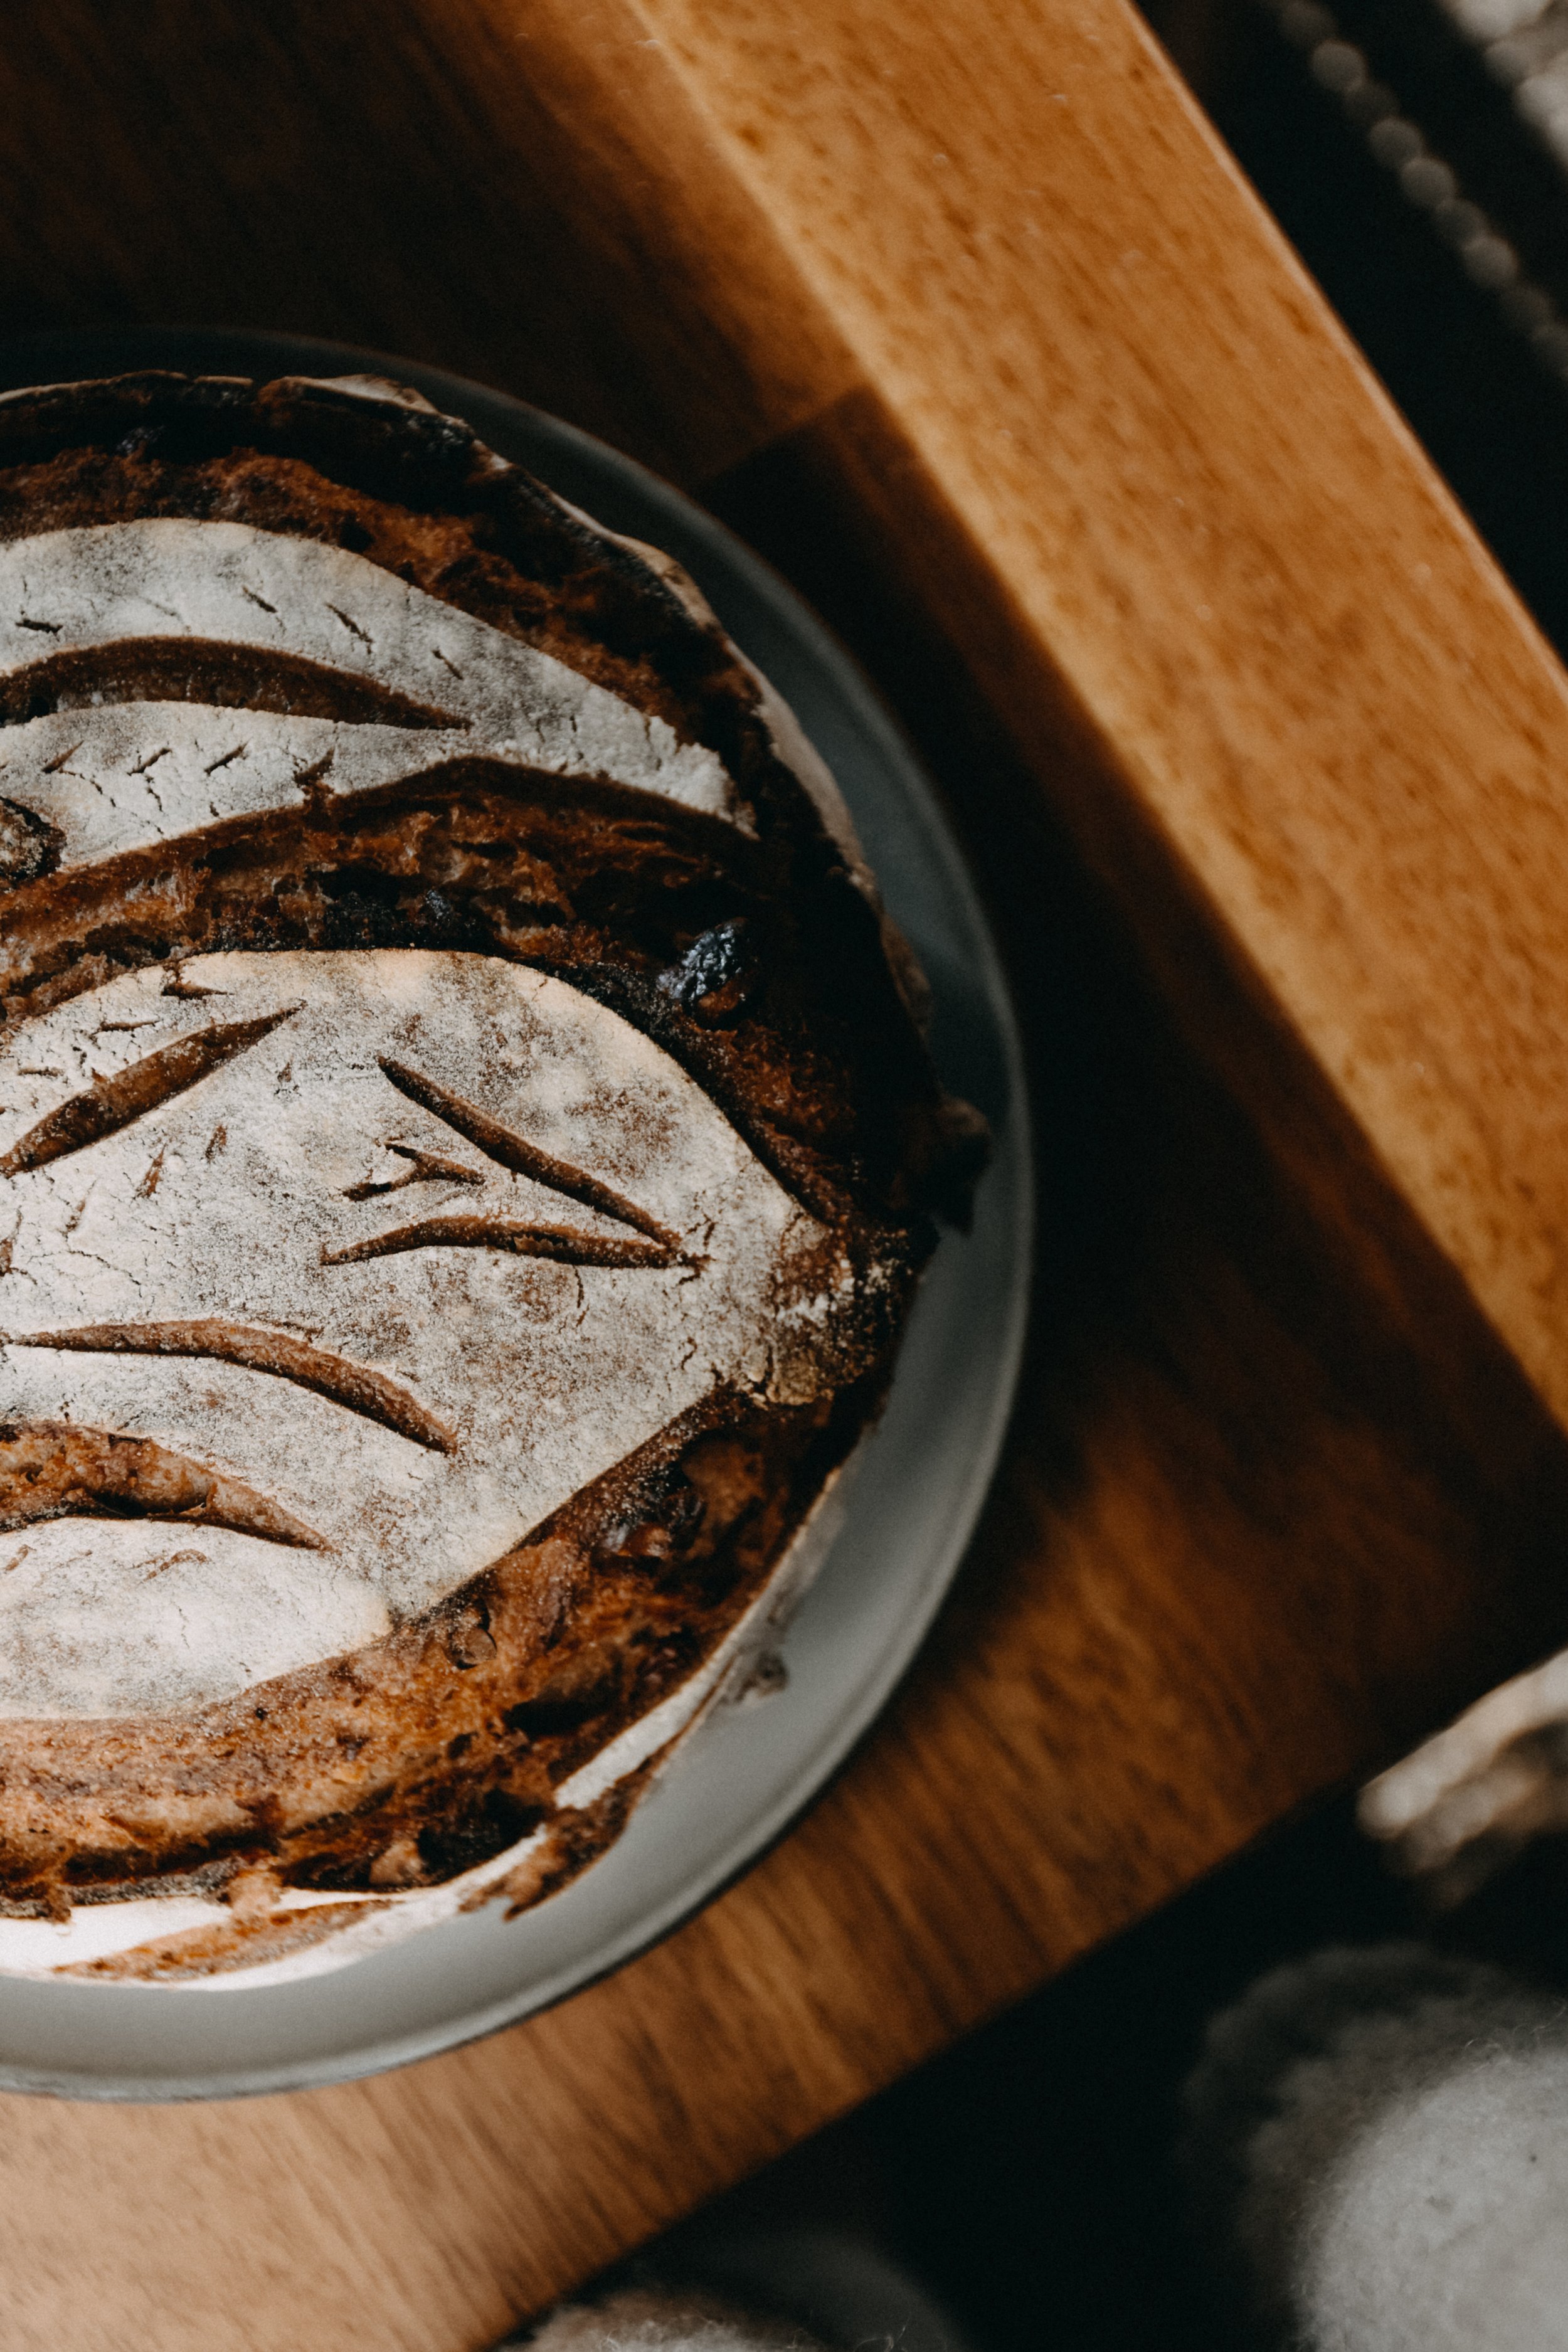
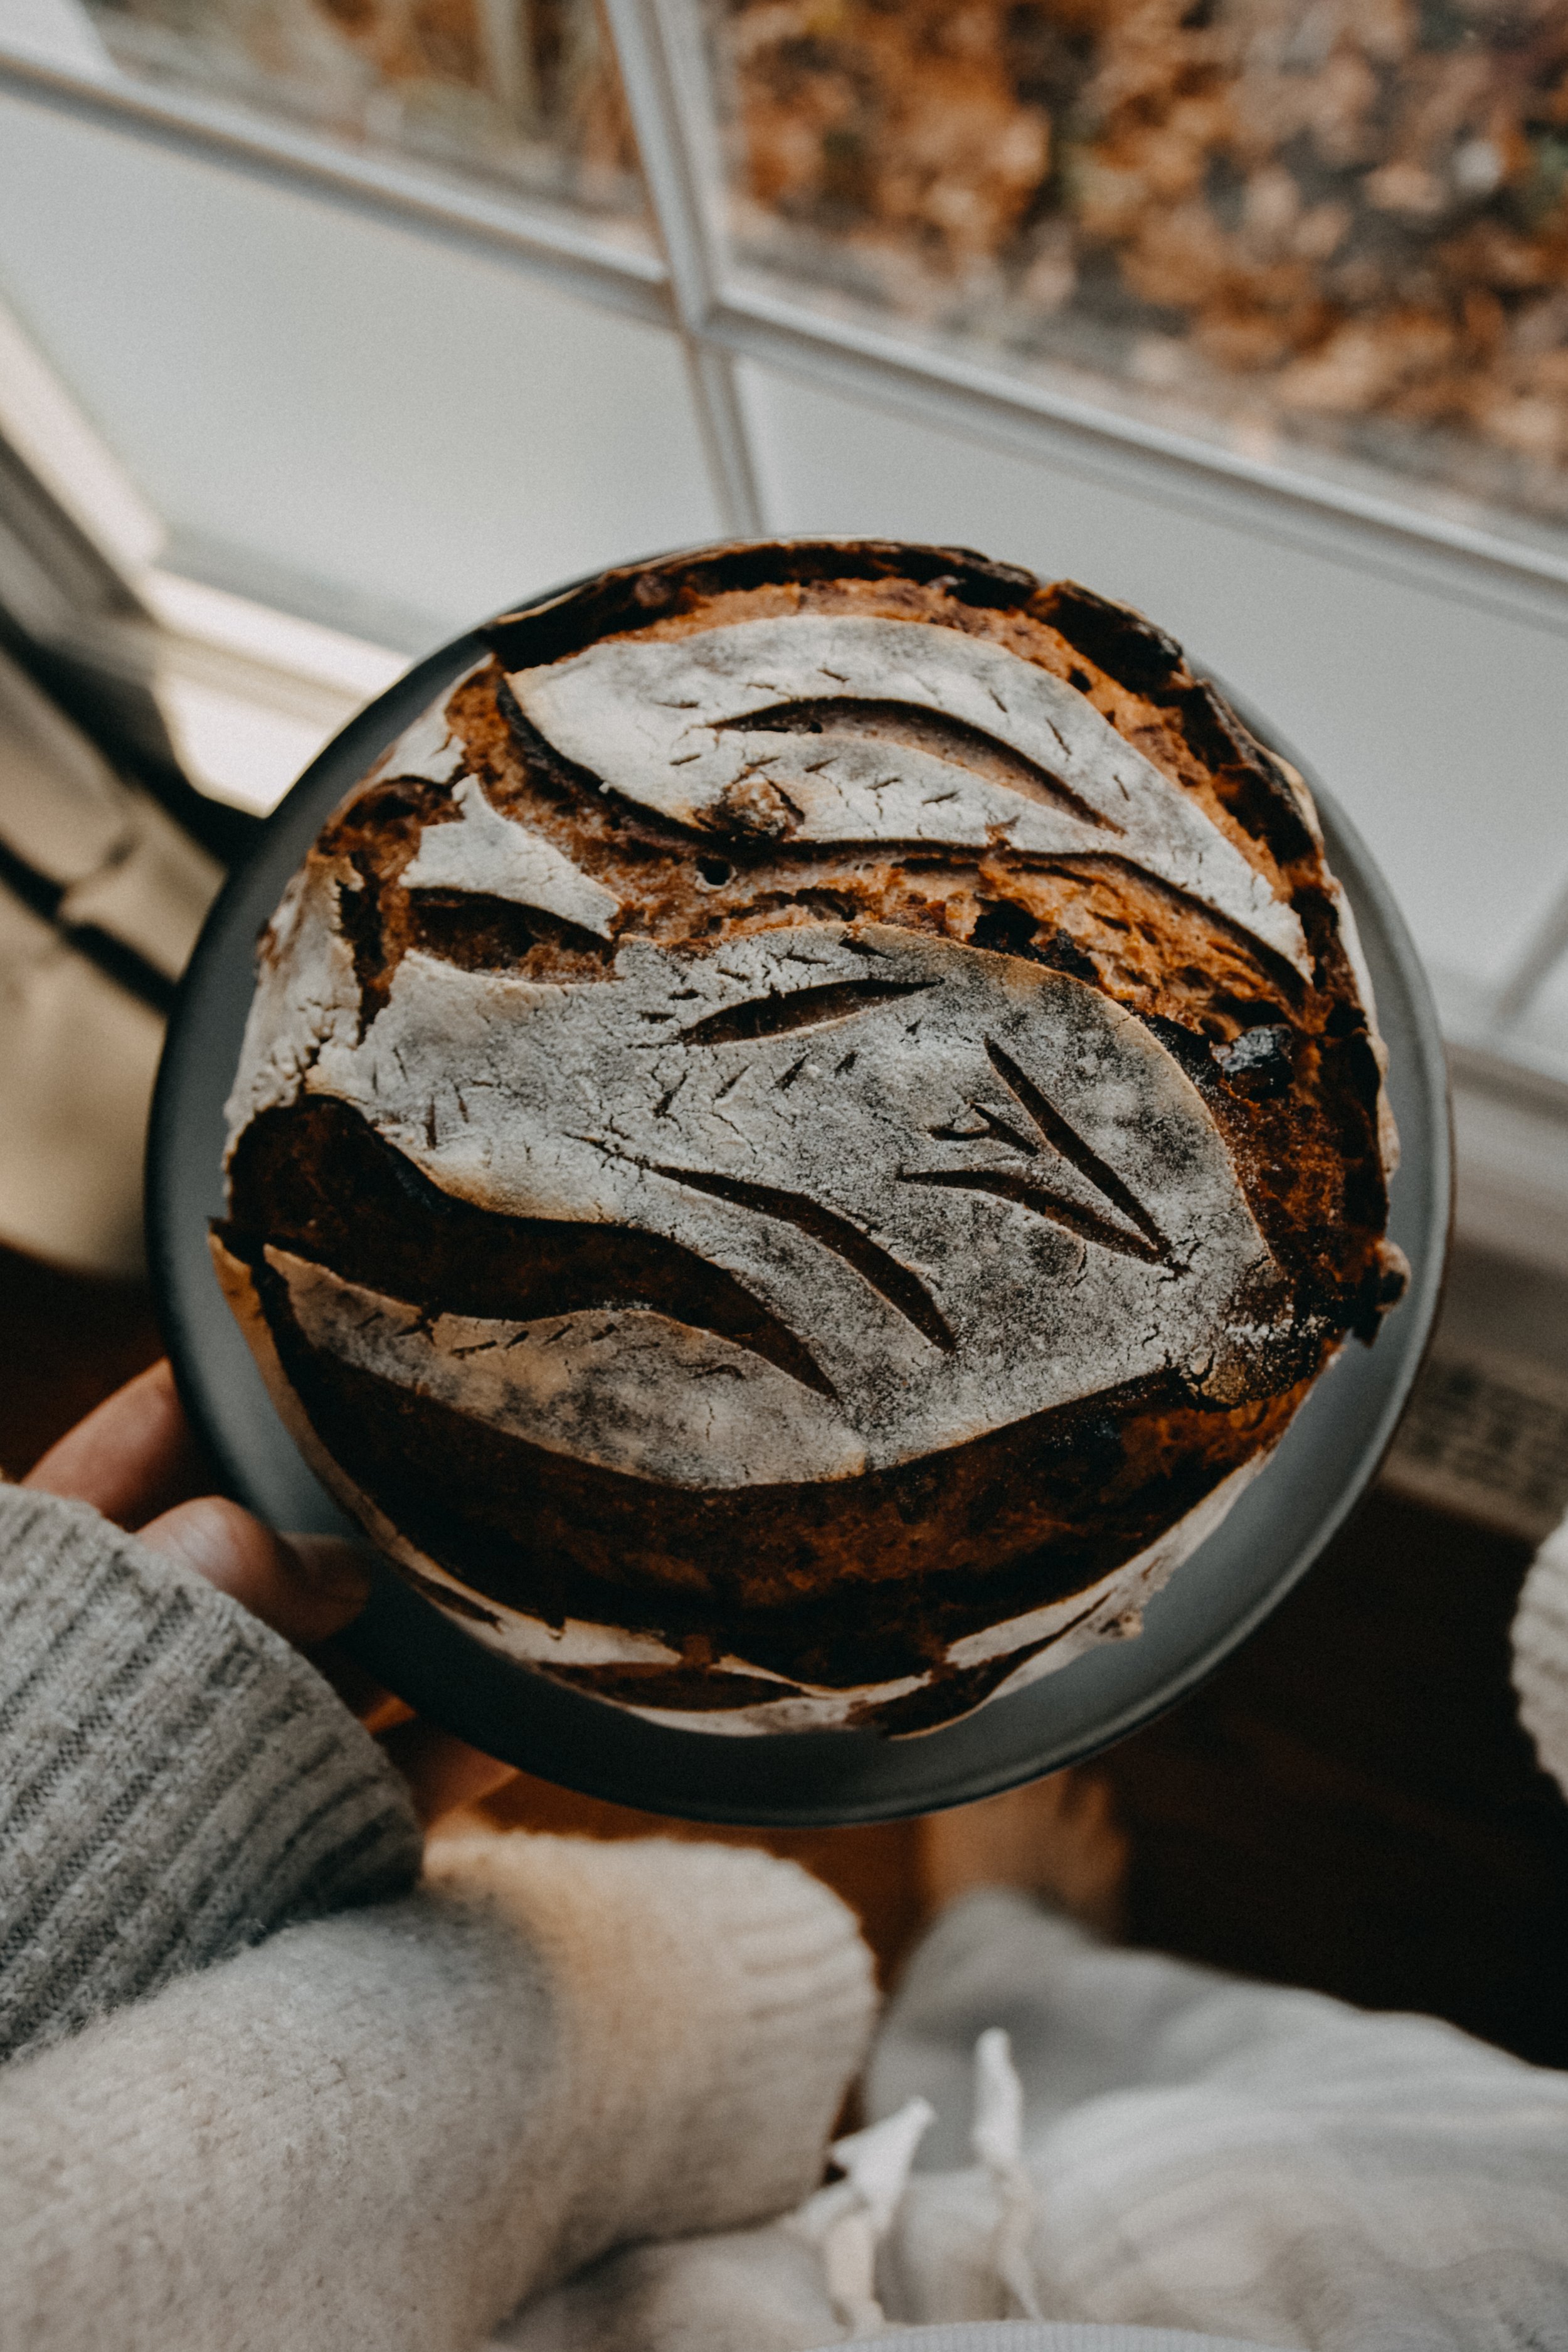
Sourdough bread, the basics.
There's something magical about sourdough bread – its crusty exterior, pillowy inside, and the symphony of flavors born from a simple blend of flour, water, and wild yeast. My journey into the world of sourdough started with an eagerness to understand not just the 'how' but the 'why' behind this artisanal craft.
The mystery of the sourdough starter.
At the heart of every sourdough loaf lies the starter, a bubbling mixture of flour and water teeming with wild yeast and bacteria. Crafting a starter is an adventure that mirrors the alchemy of nature itself. You see, it's not just a matter of following the steps; it's an ecosystem fostered by patience and environment.
To create your own starter, begin with equal parts flour and water. Use a glass or ceramic container, as metal can react with the mixture. Combine and let it breathe, covering it loosely with a cloth. The environment in which you cultivate this starter is pivotal – temperature, humidity, and even the unseen bacteria in the air dictate its success. Quality ingredients birth exceptional bread. Opt for organic, unbleached flours; they retain the essential microbes crucial for fermentation. The water you use matters too – filtered or, even better, spring water free from chlorine can elevate the flavor profile of your bread.
Let's talk about those unsung heroes: environment and temperature. Not all regions are created equal in the sourdough realm. Some areas might lack the right bacteria to kick start the fermentation process. If you find yourself struggling to nurture a healthy starter, it's not a defeat; it's an opportunity to seek help. Don't hesitate to seek a starter from a friend, a local bakery, or even purchase one online. These generous cultures carry the legacy of numerous loaves and can jump start your sourdough journey without the initial hurdles.
The starter recipe.
Ingredients:
60 grams organic all-purpose flour
60 grams filtered or spring water
Instructions:
Day 1: In a glass or ceramic container, mix 60 grams of flour with 60 grams of water until well combined. Cover it loosely with a cloth, allowing it to breathe. Set it in a warm spot, ideally around 70-75°F (21-24°C).
Days 2-7: Over the next days, observe your starter closely. Twice a day, discard half of the starter and add 50 grams of flour and 50 grams of water, stirring well. You'll notice changes – bubbles forming, a slight tangy aroma developing. This is the natural yeast and bacteria at work.
Maturation: By day 5 or 7, your starter should be lively, doubling in size within 4-6 hours of feeding, and displaying a pleasant tangy scent. Congratulations, you've cultivated your very own sourdough starter! It's alive and ready to breathe life into your loaves.
Slow living and slow baking.
Sourdough isn't just about the destination; it's a journey marked by curiosity, learning, and patience. It's about the joy of creating something tangible with your hands, understanding the nuances of fermentation, and embracing the ebb and flow of the process.
There's solace in the deliberate pace of sourdough. It's a gentle reminder that some things cannot be rushed, a nod to the beauty of anticipation. Want warm bread on Saturday morning? You start your journey by pulling the starter out of the fridge on Thursday evening, feeding it, and nurturing it back to life.
So, dear reader, I encourage you: embark on this journey, relish the beauty of the process, and savor each step. Let your hands mold the dough, your senses guide you, and the joy of creating nourishment from the simplest of ingredients be your reward.
The simple sourdough recipe.
Ingredients:
60 grams active sourdough starter
350 grams room temperature water
500 grams all-purpose flour
15 grams salt
Instructions:
Crafting the Dough: In a mixing bowl, combine the sourdough starter and water, then add the flours and salt. Mix thoroughly with your hands until well combined. Knead the dough for a minute or two until it forms a cohesive ball. Cover the bowl with a kitchen towel and let it rest at room temperature for 1 hour.
The Folding Process: After 1 hour, gently fold the edges of the dough over itself, rotating the bowl. Repeat this folding process three more times at 30-minute intervals. Cover the dough with a damp towel and let it rise for another 3 to 4 hours at room temperature (in the winter my bread sometimes needs another 6 hours.)
Shaping and Proofing: Transfer the dough to a floured surface and shape it into a ball. Place the shaped dough into a bread proofing basket dusted with flour. Cover it with a towel and refrigerate overnight.
Baking: Preheat your oven to 450°F with a Dutch oven inside for 15 minutes. Score the top of the dough, then transfer it into the preheated Dutch oven. Bake covered for 25 minutes, then uncover and bake for an additional 20 minutes. Keep an eye on your bread the first few times because every oven is different. Allow the bread to cool on a wire rack for an hour before slicing.
Sourdough isn't merely a recipe; it's a journey through patience, understanding, and sometimes, seeking the wisdom of others. The beauty lies not just in the loaf itself but in the lessons learned along the way.
Maintaining your sourdough starter.
Saving a portion of your sourdough starter for future use ensures an endless cycle of homemade goodness. After using what you need for baking, reserve a small amount to perpetuate your starter.
Storing Your Starter:
Reserve a Portion: Before using your starter, set aside a small amount, usually around 1/4 to 1/2 cup, as the foundation for the next batch.
Storage Container: Transfer the reserved starter to a clean glass jar or airtight container. Ensure there's enough space for it to expand if it becomes active.
Refrigeration: If you bake infrequently, store the jar in the fridge. This slows down fermentation, requiring less frequent feedings. Keep it sealed to prevent it from absorbing other fridge odors.
Reviving Your Starter:
Removing from the Fridge: When ready to bake or refresh the starter, take it out of the fridge and let it sit at room temperature for 1-2 hours to take the chill off.
Feeding: Discard part of the starter (if necessary to reduce volume), leaving about 30 grams. Add equal parts flour and water (130 gram each) and mix well until smooth.
Rest and Repeat: Let the starter rest at room temperature, loosely covered, for 4-8 hours, or until it becomes bubbly and active. Repeat feeding every 12 hours until it consistently doubles in size within 4-6 hours after feeding – a sign that it's strong and ready to be used.
By maintaining this cycle of saving a portion, storing, and reviving your sourdough starter, you ensure its longevity and keep the magic of homemade sourdough bread alive in your kitchen.


